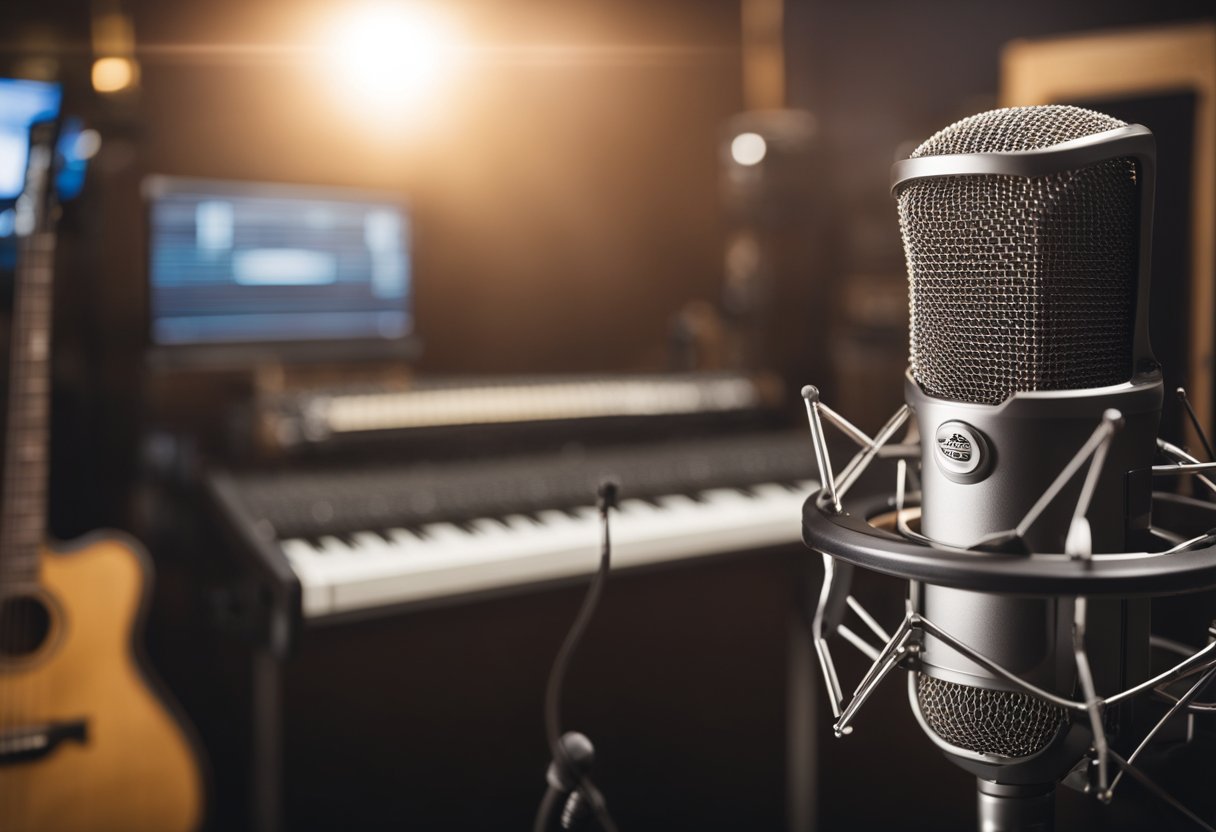
Microphone technique and selection are crucial components of music production that can make or break the overall sound quality of a recording. Choosing the right microphone for the job and using proper techniques can greatly enhance the clarity, depth, and richness of a recording. This article will provide an overview of microphone types, polar patterns, and placement techniques, as well as tips for selecting the right microphone for different instruments and dealing with common issues such as feedback and noise.

Understanding microphone types is the first step in selecting the right microphone for a recording. There are several different types of microphones, including dynamic, condenser, and ribbon microphones, each with its own unique characteristics and uses. Polar patterns, which determine the directionality of a microphone, are also an important consideration when selecting a microphone for a specific application. Different polar patterns are better suited for different recording scenarios, such as capturing a solo instrument or a full band.
In addition to selecting the right microphone, proper placement techniques are essential for achieving optimal sound quality. Factors such as distance, angle, and proximity to the sound source can greatly affect the recorded sound. Acoustic treatment for the recording space and considerations for the signal chain and monitoring levels are also important factors to keep in mind. By following these guidelines and techniques, musicians and producers can achieve high-quality recordings that accurately capture the sound of their instruments and performances.
Key Takeaways
- Understanding microphone types and polar patterns is crucial for selecting the right microphone for a recording.
- Proper microphone placement techniques can greatly enhance the sound quality of a recording.
- Considerations for acoustic treatment, signal chain, and monitoring levels are also important factors in achieving optimal sound quality.
Understanding Microphone Types
Dynamic Microphones
Dynamic microphones are the most commonly used type of microphone in music production. They are durable, affordable, and can handle high sound pressure levels (SPLs). Dynamic mics are ideal for recording loud instruments such as drums, electric guitars, and bass amps. They are also great for live performances because they are less sensitive to feedback.
Condenser Microphones
Condenser microphones are more sensitive than dynamic mics and can capture more detail and nuance in sound. They require phantom power to operate and are more fragile than dynamic mics. Condenser mics are ideal for recording acoustic instruments such as vocals, acoustic guitars, and pianos. They are also commonly used in studio settings for capturing dialogue and voiceovers.
Ribbon Microphones
Ribbon microphones are a type of dynamic microphone that uses a thin piece of metal foil as its diaphragm. They have a warm and natural sound and are often used to capture the sound of brass and woodwind instruments. Ribbon mics are also great for recording vocals and acoustic guitars.
USB Microphones
USB microphones are a type of condenser microphone that connects directly to a computer via USB. They are affordable and easy to use, making them a popular choice for podcasters and YouTubers. USB mics are not as high quality as professional studio microphones, but they are a great option for home recording and casual use.
Overall, understanding the different types of microphones and their uses is crucial for achieving high-quality recordings. Each type of microphone has its own unique characteristics and strengths, and choosing the right microphone for the job is essential for capturing the best possible sound.
Polar Patterns and Their Uses
Cardioid
Cardioid microphones are the most commonly used microphones in music production due to their directional pickup pattern. They are designed to pick up sound from the front and reject sound from the sides and rear. This makes them ideal for recording vocals, acoustic guitar, and other instruments that need to be isolated from other sounds in the room.
Omnidirectional
Omnidirectional microphones are designed to pick up sound equally from all directions. They are useful for recording ambient sound, such as room tone or crowd noise, and for capturing the sound of an entire ensemble or orchestra. However, they are not ideal for isolating individual instruments or voices.
Figure-8
Figure-8 microphones, also known as bidirectional microphones, pick up sound from the front and rear but reject sound from the sides. These microphones are useful for recording two sources at once, such as a duet or an interview with two people sitting across from each other.
Supercardioid and Hypercardioid
Supercardioid and hypercardioid microphones have a narrower pickup pattern than cardioid microphones, making them ideal for isolating individual instruments in a crowded recording environment. However, they are also more prone to picking up unwanted sounds from the sides and rear, so they require careful placement and monitoring.
Overall, understanding the different polar patterns and their uses is crucial for selecting the right microphone for a specific recording situation.
Microphone Selection for Different Instruments
When it comes to choosing the right microphone for a specific instrument, it is important to consider the frequency response, polar pattern, and sensitivity of the microphone. Here are some recommendations for microphone selection for different instruments:
Vocals
For vocals, a large-diaphragm condenser microphone is a popular choice. These microphones are sensitive and capture the nuances of the voice. Some popular options include the Neumann U87, AKG C414, and Shure KSM32. Dynamic microphones like the Shure SM7B and Electro-Voice RE20 are also commonly used for vocals, especially for recording rock and metal vocals.
Drums
When it comes to miking a drum kit, there are several different microphones that can be used. For the kick drum, a dynamic microphone like the Shure Beta 52A or AKG D112 is a popular choice. For the snare drum, a dynamic microphone like the Shure SM57 or Sennheiser e906 works well. Overhead microphones are used to capture the cymbals and overall sound of the kit. Condenser microphones like the AKG C414 and Neumann KM184 are commonly used for this purpose.
Guitars
For electric guitar amps, dynamic microphones like the Shure SM57 and Sennheiser e609 are popular choices. Condenser microphones like the Neumann U87 and AKG C414 can also be used for a more detailed sound. For acoustic guitars, a small-diaphragm condenser microphone like the AKG C451 or Shure SM81 is a good choice.
Piano
When miking a piano, a stereo pair of small-diaphragm condenser microphones like the Neumann KM184 or AKG C451 can be used. Placing one microphone near the hammers and one near the soundboard can create a balanced stereo image. For a more detailed sound, a large-diaphragm condenser microphone like the Neumann U87 or AKG C414 can be used.
Wind and Brass
When miking wind and brass instruments, a small-diaphragm condenser microphone is a good choice. Placing the microphone near the bell of the instrument can capture a clear sound. Some popular options include the AKG C451 and Shure SM81. For larger instruments like the tuba and bassoon, a large-diaphragm condenser microphone like the Neumann U87 or AKG C414 can be used.
Microphone Placement Techniques

Proximity Effect
Proximity effect is a phenomenon where the bass response of a microphone increases as the microphone is moved closer to the sound source. This effect is commonly used in music production to add warmth and depth to vocals and instruments. To achieve this effect, the microphone is placed close to the sound source, typically within six inches. The closer the microphone is to the source, the more pronounced the effect will be.
Stereo Miking
Stereo miking is a technique used to capture a three-dimensional sound image of an instrument or group of instruments. This technique is achieved by using two microphones placed at a distance from each other to capture the left and right channels of the sound source. The microphones are typically placed in an XY or ORTF configuration to achieve a natural stereo image.
Ambient Miking
Ambient miking is a technique used to capture the sound of a room or environment in which the music is being recorded. This technique is achieved by placing a microphone at a distance from the sound source, typically at least six feet away. The microphone is placed in a position where it can capture the natural reverb and ambience of the room.
Close Miking
Close miking is a technique used to capture the sound of an instrument or vocal with minimal room ambience. This technique is achieved by placing the microphone close to the sound source, typically within a few inches. Close miking is commonly used in music production to isolate individual instruments or vocals and to achieve a clean and focused sound.
In summary, microphone placement is a crucial aspect of music production. By using various microphone placement techniques, producers can achieve a wide range of sounds and textures. Proximity effect, stereo miking, ambient miking, and close miking are just a few of the techniques used in music production to achieve different sonic results.
Acoustic Treatment for Recording

When it comes to recording music, the acoustics of the room can play a significant role in the overall sound quality. Proper acoustic treatment can help to eliminate unwanted reflections and echoes, resulting in a cleaner and clearer recording.
Reflection Filters
Reflection filters are a popular solution for home studios or small recording spaces. These devices are designed to absorb sound waves and prevent them from bouncing back into the microphone. Reflection filters are typically placed behind the microphone and can help to reduce unwanted room noise and reflections.
Diffusers
Diffusers are another type of acoustic treatment that can be used to improve the sound quality of a recording space. Unlike absorbers, diffusers scatter sound waves in different directions, helping to create a more natural and balanced sound. Diffusers can be particularly useful in larger rooms or spaces with high ceilings.
Bass Traps
Bass traps are designed to absorb low-frequency sound waves, which can be particularly challenging to control in a recording space. These devices are typically placed in the corners of a room, where bass frequencies tend to accumulate. Bass traps can help to eliminate unwanted resonances and improve the overall clarity of a recording.
Overall, proper acoustic treatment can have a significant impact on the quality of a recording. By using a combination of reflection filters, diffusers, and bass traps, musicians and producers can create a more controlled and balanced recording environment.


