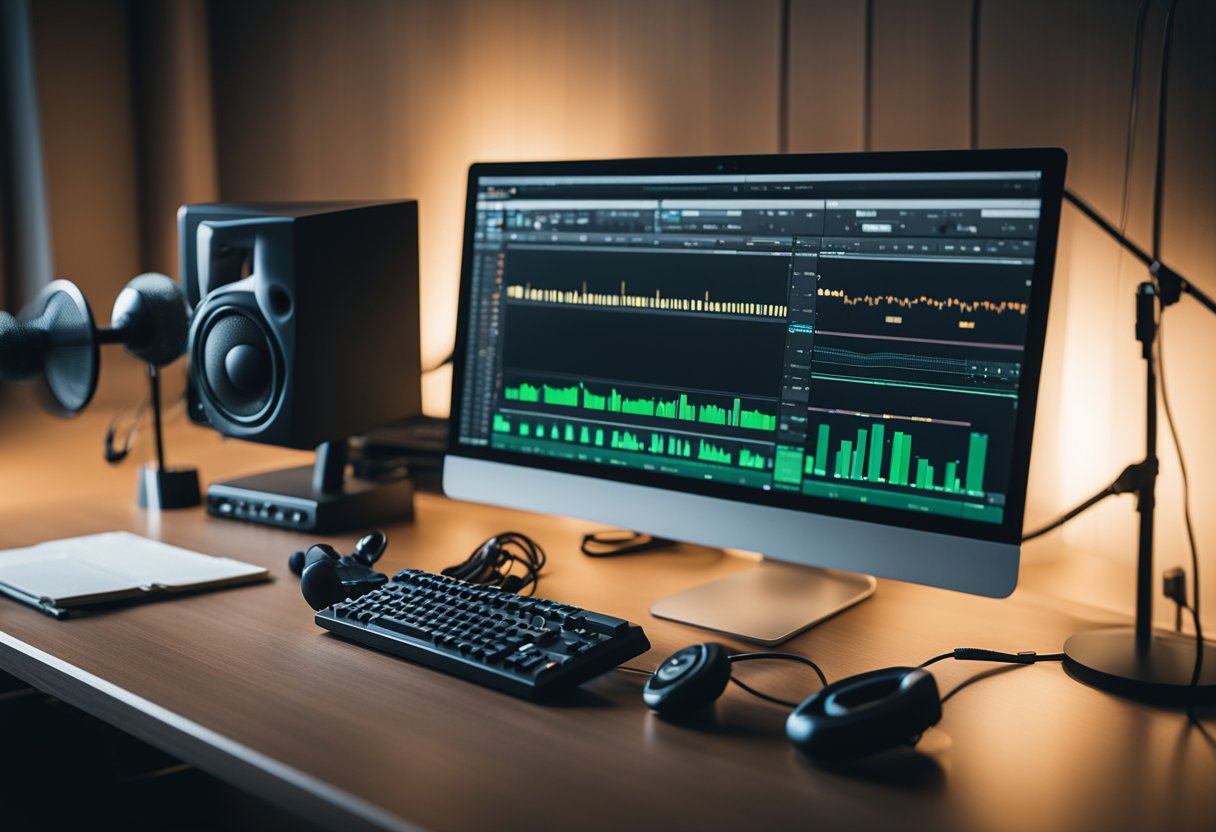
Home studio setups have become increasingly popular in recent years, thanks to advancements in technology that have made it possible to produce professional-quality music from the comfort of your own home. A home studio setup can save you time and money, and it also allows you to have complete creative control over your music. However, setting up a home studio can be a daunting task, especially if you are new to music production. This article will provide you with a comprehensive guide to setting up and optimizing your home studio for music production.

The first step in setting up a home studio is to ensure that you have all the essential equipment. This includes a computer, a DAW (Digital Audio Workstation), a microphone, headphones, and studio monitors. Once you have the necessary equipment, you will need to consider the acoustics of your room and invest in some sound treatment to ensure that you get the best possible sound quality. Room acoustics and treatment play a crucial role in the overall sound of your recordings, so it is essential to get this right. In the following sections, we will delve deeper into each of these topics and provide you with practical tips and advice to help you optimize your home studio setup for music production.
Key Takeaways
- Essential equipment for a home studio includes a computer, a DAW, a microphone, headphones, and studio monitors.
- Room acoustics and treatment are crucial for achieving the best possible sound quality in your recordings.
- Optimizing your home studio setup for music production involves considering recording techniques, mixing and mastering, workflow optimization, and ergonomics, among other factors.
Essential Equipment for Home Studios
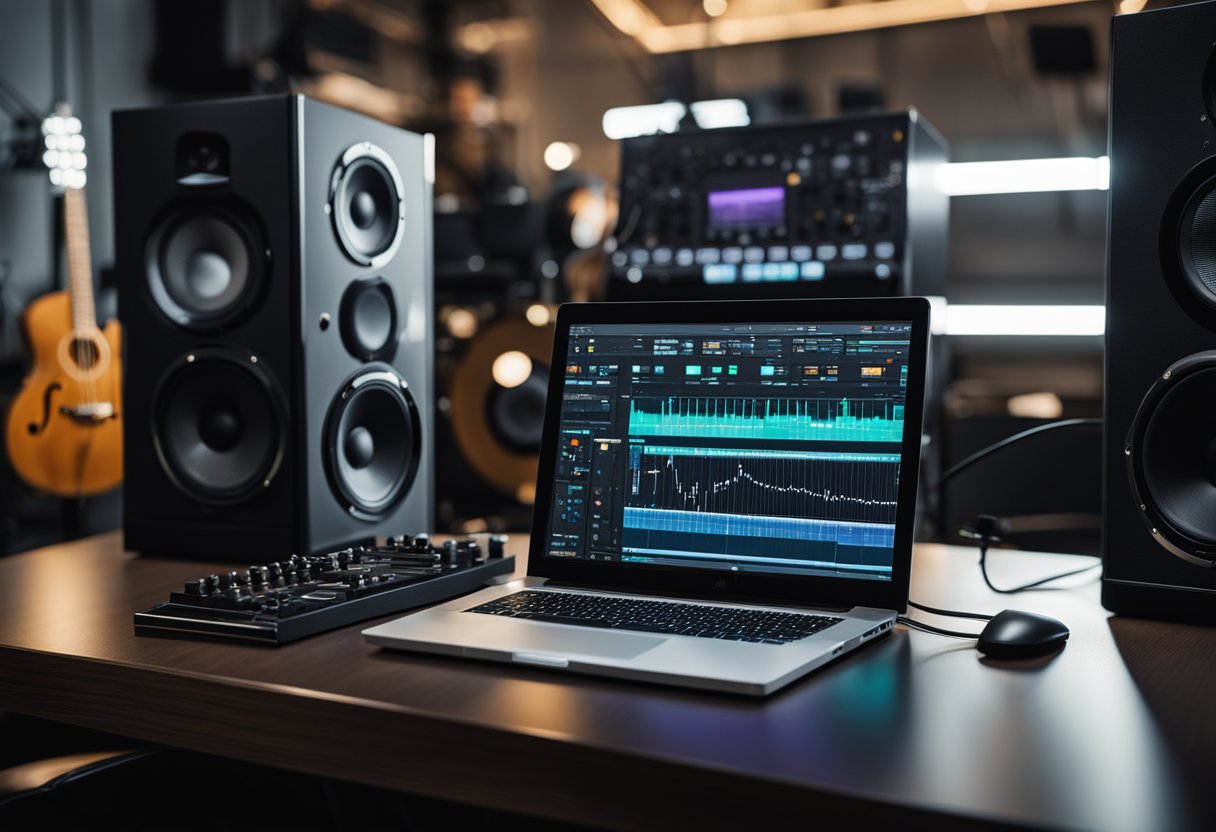
When setting up a home studio for music production, it’s essential to have the right equipment. Here are some of the most important pieces of gear to consider:
Choosing the Right Computer
A reliable computer is the backbone of any home studio setup. Look for a computer with a fast processor, plenty of RAM, and a large hard drive or solid-state drive. Macs are a popular choice among music producers, but PCs can work just as well.
Audio Interfaces Explained
An audio interface is a device that connects your computer to your recording equipment. It’s essential for capturing high-quality audio and minimizing latency. Look for an interface with multiple inputs and outputs, high-quality preamps, and low-latency monitoring.
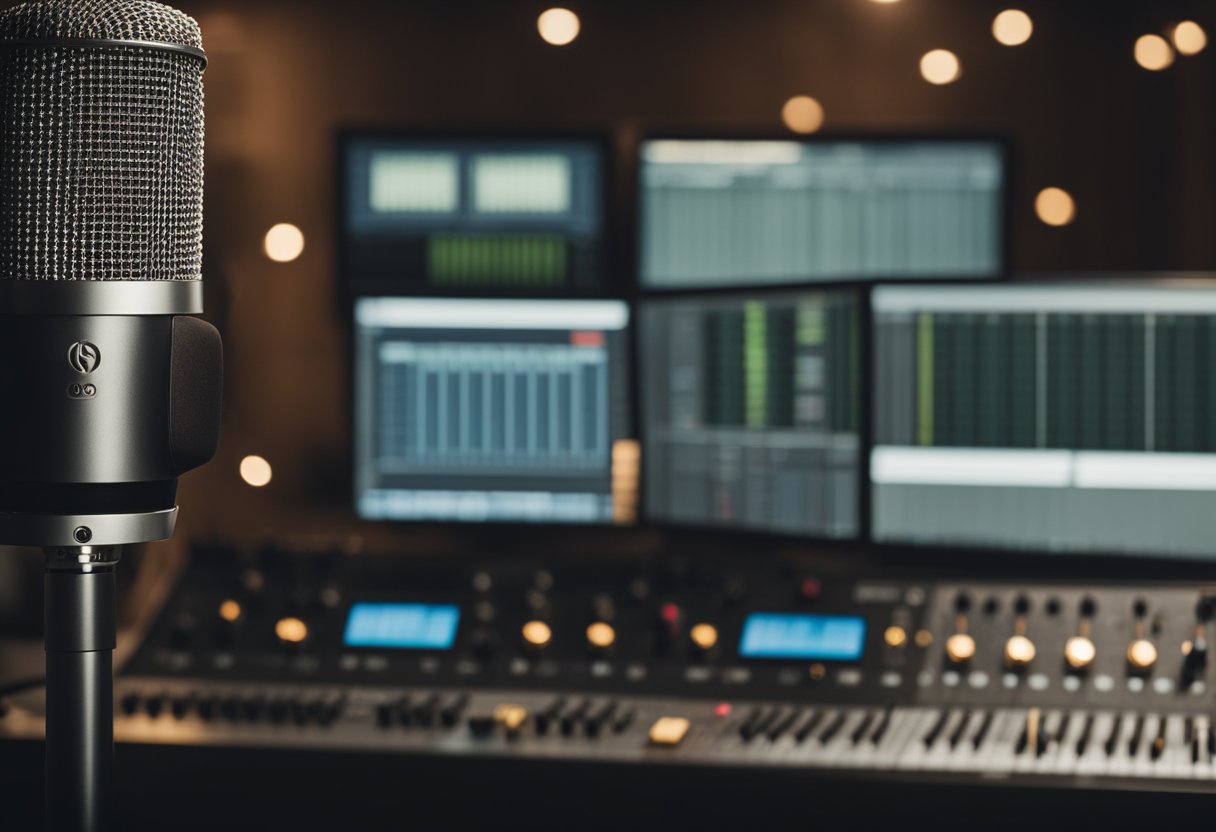
Microphones for Various Applications
There are many different types of microphones, each with its own strengths and weaknesses. Dynamic mics are great for recording loud sources like drums and guitar amps, while condenser mics are better for capturing delicate sounds like vocals and acoustic instruments. Ribbon mics offer a warm, natural sound that’s great for capturing the nuances of a performance.
Studio Monitors Versus Headphones
While headphones are great for monitoring during recording, studio monitors are essential for mixing and mastering. Look for monitors with a flat frequency response and good stereo imaging. It’s also important to position them correctly in your room for optimal sound.
Essential Cables and Accessories
Don’t forget the little things! High-quality cables are essential for minimizing noise and interference. Pop filters and shock mounts can help improve the sound of your recordings, while a good keyboard and mouse can make your workflow more efficient.
By investing in the right equipment, you can create a home studio setup that’s capable of producing professional-quality recordings.
Room Acoustics and Treatment
Understanding Room Acoustics
Before setting up a home studio, it’s important to understand the basics of room acoustics. The size, shape, and materials of a room can greatly affect the way sound behaves within it. Reverberation, standing waves, and other acoustic anomalies can cause unwanted frequency buildup or cancellation, resulting in an inaccurate representation of the sound being produced.
To combat these issues, it’s important to identify the problem areas in the room and apply proper acoustic treatment. This can include the use of absorptive materials such as foam panels or diffusive materials such as diffusers to help control the reflections and standing waves within the room.
DIY Acoustic Treatment Solutions
Acoustic treatment can be expensive, but there are many DIY solutions that can be just as effective. Hanging heavy blankets or curtains on the walls can help absorb sound, while bookcases or other furniture can act as diffusers. Building your own acoustic panels using insulation and fabric can also be a cost-effective solution.
Bass Traps and Diffusers
Bass frequencies can be particularly problematic in small rooms, causing buildup and resonance. Bass traps, which are designed to absorb low frequencies, can help alleviate this issue. Diffusers, on the other hand, scatter sound waves in different directions, helping to break up standing waves and create a more even distribution of sound.
Optimal Monitor Placement
Proper monitor placement is crucial for accurate monitoring. Monitors should be positioned at ear level and equidistant from the walls to avoid reflections and phase cancellation. It’s also important to consider the listening position, as the distance and angle from the monitors can affect the way sound is perceived. Experimenting with different positions can help achieve the optimal listening experience.
In summary, understanding room acoustics and applying proper acoustic treatment is essential for achieving accurate and reliable monitoring in a home studio. With the right tools and techniques, it’s possible to create a space that allows for clear and precise music production.
Recording Techniques
Microphone Placement Fundamentals
One of the most important factors in achieving a high-quality recording is proper microphone placement. It is essential to place the microphone in a position that captures the sound accurately and minimizes unwanted noise.
The first step in microphone placement is to determine the type of microphone that is best suited for the instrument or voice being recorded. For example, a dynamic microphone is ideal for recording drums, while a condenser microphone is better for capturing the nuances of a vocal performance.
Once the appropriate microphone is selected, the next step is to position it correctly. The distance between the microphone and the sound source, as well as the angle at which the microphone is placed, can have a significant impact on the quality of the recording.
Recording Vocals
Recording vocals requires special attention to detail, as the human voice is a delicate instrument that requires careful handling. It is important to choose the right microphone, as well as the right microphone placement, to capture the nuances of the singer’s voice.
A pop filter is an essential tool for recording vocals, as it helps to reduce plosive sounds such as “p” and “b” that can cause distortion in the recording. It is also important to ensure that the recording environment is free from background noise and echo, as these can negatively impact the quality of the recording.
Capturing Instruments
Recording instruments requires a different approach than recording vocals. The microphone placement will vary depending on the type of instrument being recorded. For example, when recording a guitar, it is best to place the microphone close to the sound hole to capture the full range of the instrument.
When recording drums, it is important to use multiple microphones to capture the different elements of the kit. A dynamic microphone is ideal for the kick drum, while a condenser microphone is better suited for the cymbals and snare drum.
In conclusion, proper microphone placement is essential for achieving a high-quality recording. By following these fundamental techniques, you can ensure that your recordings are clear, accurate, and free from unwanted noise.
Mixing and Mastering in a Home Studio

Mixing Basics
Mixing is the process of combining individual tracks into a cohesive and balanced stereo mix. It involves adjusting the levels, panning, EQ, compression, and other effects to achieve a clear and dynamic sound. In a home studio, it’s important to have a good monitoring system and acoustically treated room to accurately hear the mix.
One useful technique is to mix at low volumes to avoid ear fatigue and to ensure that the mix translates well on different playback systems. Another is to use reference tracks to compare the mix with professional recordings and to identify areas that need improvement.
Mastering Essentials
Mastering is the final step in the music production process, where the stereo mix is polished and prepared for distribution. It involves EQ, compression, stereo enhancement, and limiting to achieve a consistent and loud volume level. In a home studio, it’s important to have a good set of mastering plugins and to reference the mix on different playback systems.
One important consideration is to leave enough headroom in the mix to avoid clipping and distortion during mastering. Another is to use a reference track to compare the mastered version with professional recordings and to ensure that the tonal balance and dynamics are in line with industry standards.
Using Plugins and Effects
Plugins and effects are essential tools for mixing and mastering in a home studio. EQ can be used to shape the tonal balance of individual tracks and the overall mix. Compression can be used to control the dynamic range and to add punch and sustain to drums and other instruments. Reverb can be used to create a sense of space and depth in the mix.
It’s important to use plugins and effects judiciously and to avoid over-processing, which can lead to a muddy and cluttered mix. It’s also important to use high-quality plugins and to experiment with different settings to find the right sound for each track.
Workflow Optimization

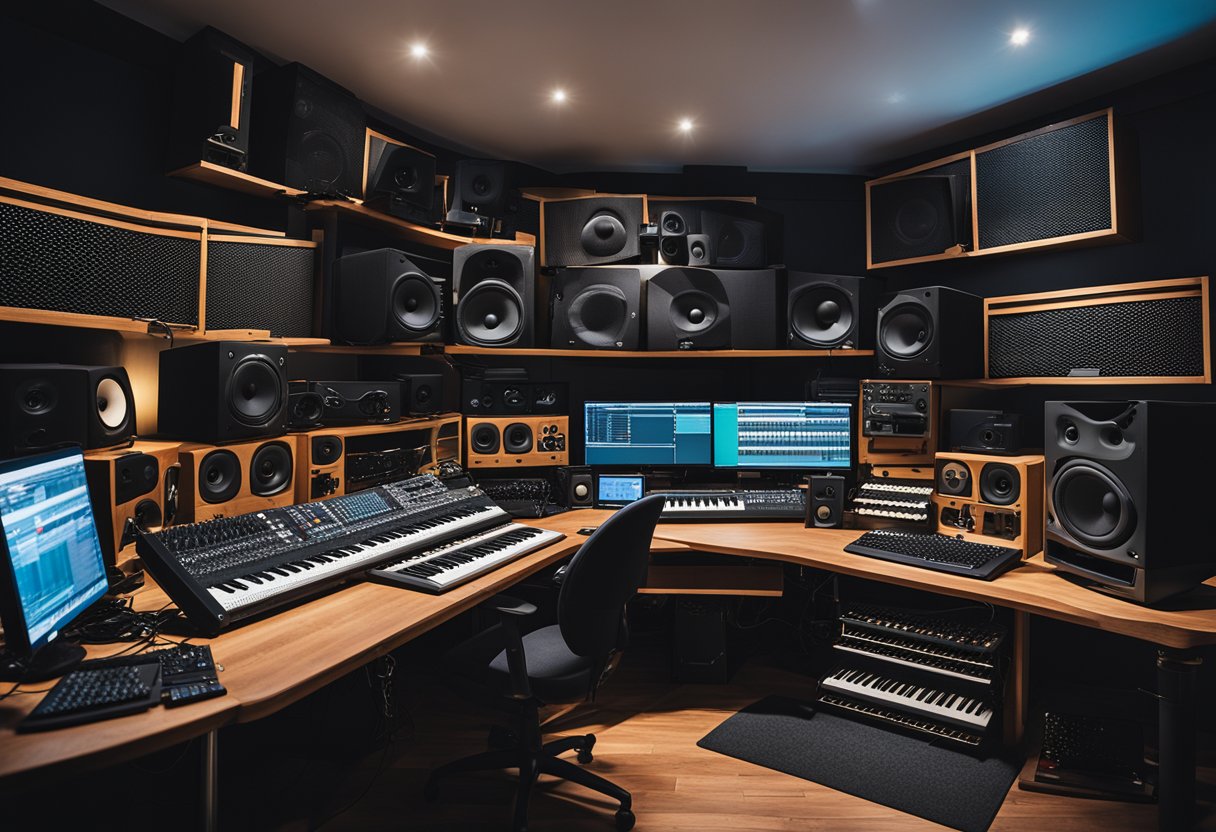
Setting Up an Efficient Workspace
One of the most important aspects of optimizing workflow in a home studio is creating an efficient workspace. This means having all the necessary equipment and tools within reach and organized in a way that makes sense for the user. It’s important to consider the layout of the room and the placement of equipment to ensure that the user can easily move around and access everything they need.
Investing in ergonomic furniture and accessories can also greatly improve workflow and prevent physical strain. This includes a comfortable chair, adjustable monitor stands, and a keyboard and mouse that are easy to use for extended periods of time.
Digital Audio Workstation (DAW) Tips
The digital audio workstation (DAW) is the heart of any home studio setup, and optimizing its use is crucial for efficient workflow. One tip is to create templates for common projects, which can save time by providing a pre-configured setup for each project.
Keyboard shortcuts are another important tool for optimizing workflow in a DAW. Learning and using shortcuts for common tasks can greatly speed up the production process and reduce the need for mouse clicks.
It’s also important to regularly clean up and organize the DAW’s interface, removing any unnecessary plugins or tracks that are no longer needed. This can help keep the workspace clutter-free and make it easier to focus on the task at hand.
File Management and Backup Strategies
Proper file management and backup strategies are essential for any home studio setup. It’s important to regularly back up all project files to an external hard drive or cloud storage service to prevent loss of work due to hardware failure or other issues.
Organizing files in a logical and consistent manner can also greatly improve workflow and make it easier to find and access specific files. This can include using a consistent naming convention for files and folders, and keeping all related files for a project in a single folder.
Using file management and backup tools, such as automatic backups and file synchronization software, can also help streamline the process and ensure that all files are properly backed up and organized.
Home Studio Ergonomics
Desk and Chair Selection
When setting up a home studio, choosing the right desk and chair is crucial for maintaining good posture and preventing discomfort or injury. The desk should be at a comfortable height, allowing the producer to sit with their feet flat on the ground and their arms at a 90-degree angle on the desk. A chair with adjustable height and backrest is recommended to support the lower back and prevent slouching.
Monitor and Speaker Stands
Proper placement of monitors and speakers is essential for accurate sound reproduction and preventing ear fatigue. It is recommended to use stands to elevate the monitors to ear level and angle them towards the producer. This helps to create an optimal listening environment and reduce strain on the neck and shoulders.
Organizing Gear and Cables
Keeping the studio space organized and clutter-free can help to reduce stress and increase productivity. Using cable ties or Velcro straps to bundle cables together can help to prevent tripping hazards and make it easier to identify and troubleshoot any issues. Additionally, investing in storage solutions such as shelves or drawers can help to keep gear and accessories within reach and easily accessible.
Overall, taking the time to set up a comfortable and ergonomic home studio can help to improve the producer’s workflow and prevent discomfort or injury.
Frequently Asked Questions

What essential equipment is needed for a basic home recording studio setup?
To set up a basic home recording studio, you will need a few essential pieces of equipment. These include a computer, audio interface, microphone, headphones, and studio monitors. It’s important to invest in quality equipment within your budget to ensure optimal sound quality.
How can I acoustically treat a room for optimal music production quality?
Acoustic treatment is crucial for optimal music production quality in a home studio. You can achieve this by using acoustic panels, bass traps, and diffusers to absorb and diffuse sound waves. Placing furniture and other objects in the room can also help to break up sound reflections.
What are the steps to configure a computer for efficient audio processing?
To configure a computer for efficient audio processing, ensure that it has a fast processor, sufficient RAM, and a dedicated hard drive for audio files. Disable unnecessary background processes and optimize the computer’s power settings. It’s also important to use a reliable audio interface and keep your DAW and plugins up to date.
What are the key considerations when selecting a DAW for home studio use?
When selecting a DAW for home studio use, consider factors such as your budget, preferred workflow, and the type of music you will be producing. Look for a DAW that is user-friendly and has a wide range of features and plugins to suit your needs.
How can I ensure minimal latency during recording and playback in my home studio?
To ensure minimal latency during recording and playback in your home studio, use a low-latency audio interface and optimize your computer’s audio settings. It’s also important to use high-quality cables and avoid running too many plugins simultaneously.
What are cost-effective ways to enhance the sound quality of a home studio?
There are several cost-effective ways to enhance the sound quality of a home studio. These include using acoustic treatment, investing in quality headphones and monitors, and experimenting with microphone placement. It’s also important to take breaks and listen to your mixes in different environments to ensure optimal sound quality.